Instagram. We are all addicted to it (at least I am) and since a few weeks I’m getting some sweet compliments on my feed. I’m really not an expert and don’t have thousands and thousands of followers – still so very thankful with my 5.5K+ followers. Because some asked how I edit my photo’s for instagram I’m happy to share this here…
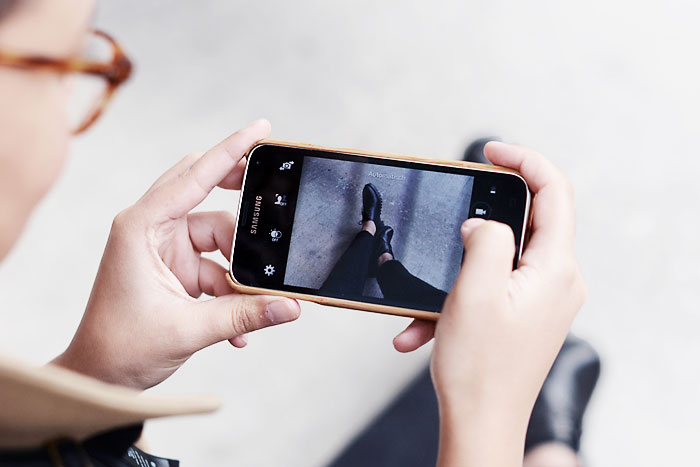
Since a few months I switched from an iPhone 5s to a Samsung S5 but actually I’m still using the same app to edit my pictures. I really recommend to download Afterlight (Appstore/Playstore) because it has all the functions you need and it’s really worth those 89 cents. I like to have bright pictures in my feed with hints of black, white and bits of color and always try bring my feed in balance. Yes, before I didn’t like to think about how my feed looked like but as a visual person I am, I just can’t ignore that I love to see all the images fit together.
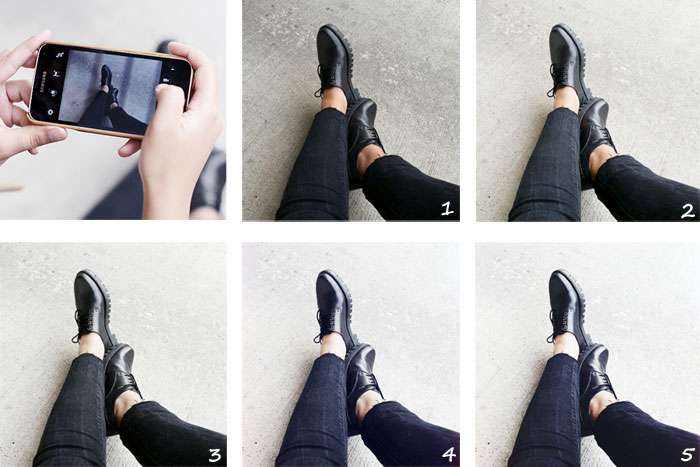
HOW I EDIT A PHOTO FOR INSTAGRAM
1. Start / This is the original image. No flash.
2. Brightness / I always brighten up the image before I even start with something else.
3. Saturation / Often I don’t like the yellow tone in my images so I saturate the image a bit.
Before I always used the temperature tool but this makes the image way to blue, in my opinion.
4. Effect / After this I always add an effect over my image to give it more vibrance.
Lately I often use effect 24 to give it a subtile layer over my images.
5. Finishing touch / For the finishing touch I lighten up the image again and work with the shadow tool
and set it on +30 to attenuate the shadows.
Actually I never use the filters of instagram itself (oops!), but I just heard they launched 5 new ones!
Maybe it’stime to check them out again. And, do you have tips & tricks for instagram?